I had the great pleasure to attend Austin Area Quilt Guild's "Gift of Quilting" workshops on Friday evening. Unfortunately, I only was able to extricate myself from a single day's work to attend. This wonderful two day event is put on every other year - in between "Show" years. The idea is to provide member-taught workshops, as a reward to volunteers (and members) who work so hard to make the biennial Quilt Show happen.
The workshop I signed up for was a 3 hour reversible quilted Table Topper, made using the Cotton Theory technique. Offered by veteran sewing and quilting teacher Nancy Voegele, I was hoping to not only pick some new quilting skills, but also to see an expert in action. I was not dissapointed.
Here's my finished piece:
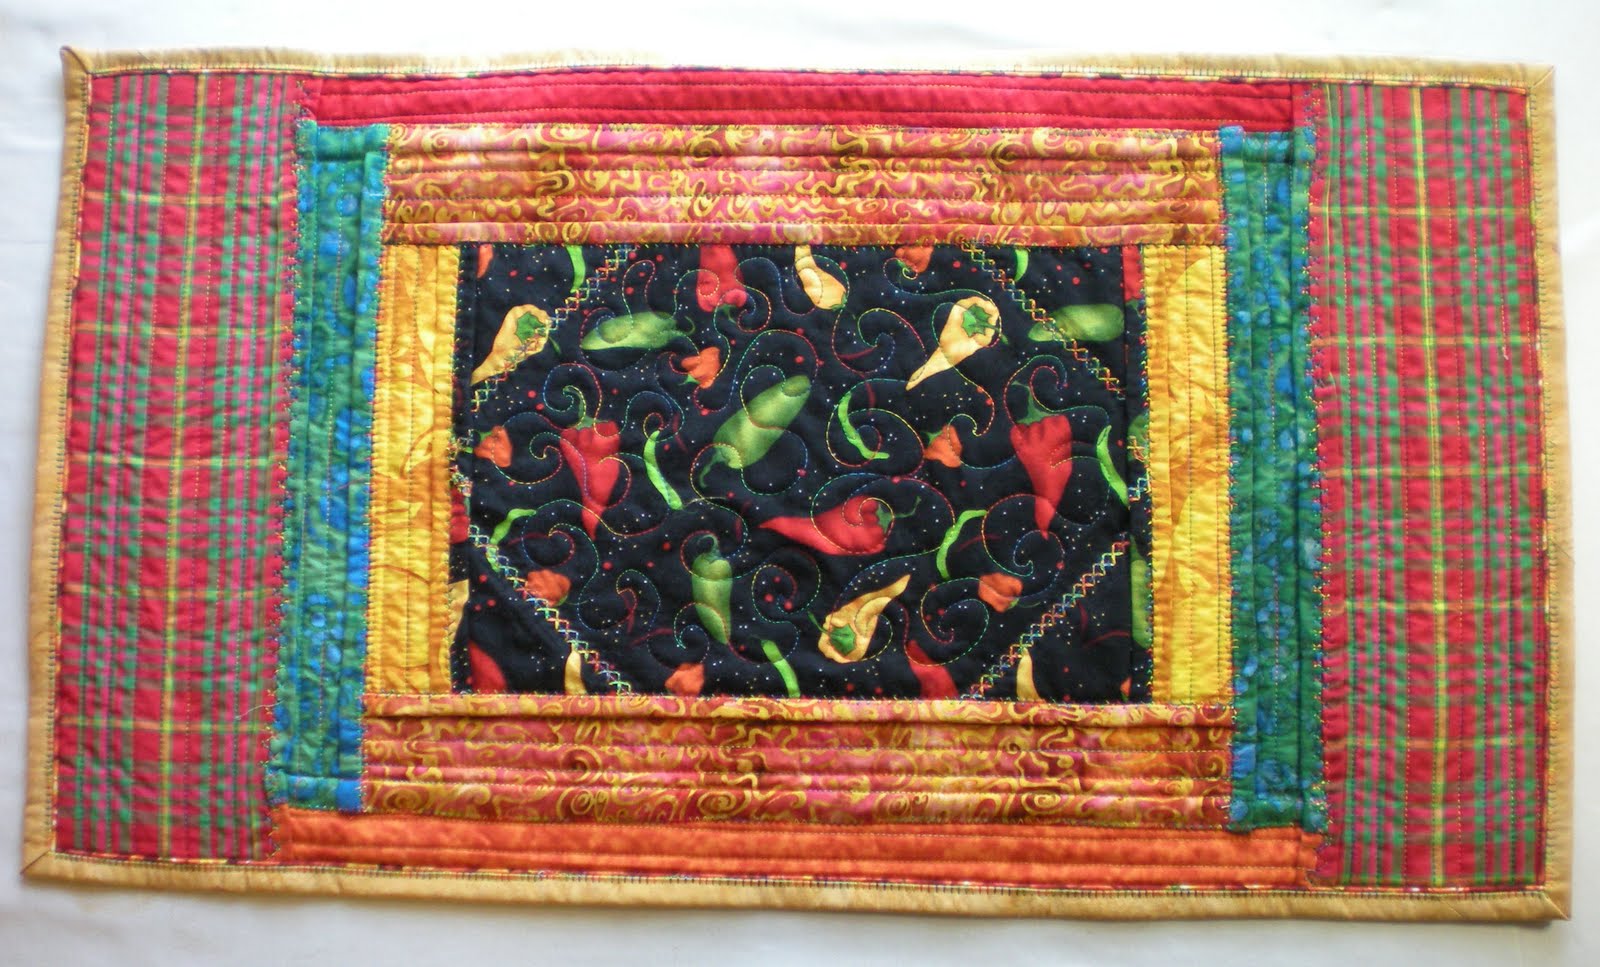 |
| Table Topper: Dinner "Side" |
 |
| Table Topper: "Breakfast" Side |
So, if you are having difficulty quilting a large quilt, this may be a great way to complete a quilt with just any resonably good quality Sewing Machine.
Another fun aspect to the technique is that it allows you the fun of using those often ignored decorative stitches to provide further embellishment as part of the assembly technique. I used several of the mock "hand embroidery" stitches in the construction process. I also used some of my new found piping skills (from my workshop in March with Susan Cleveland ) to add a small corded piping edgeing to the binding, To further gild the rose, I embellished the binding with a varigated blanket stitch...
I am VERY happy with the way "DD" performed in this somewhat tricky maneuver. I used the "blind hem" foot - which rode smoothly over the uneven piped edge with ease. The piping foot handled that chore wonderfully too! If you've always wondered what those special feet can do for you, this project provided me with pretty compelling proof that the foot makes the difference in stitch quality. Here's a close up of those embellishments:
 |
| Decorative Stitch and Quilting Detail |
 |
| Piped edge and blanket stitched binding - how about those corners?! |
I was REALLY happy to have a completed project today - I am so close on several projects, including one full size quilt - stay tuned for an update as they get finished!
- Keep on Quilting...
- Karen
